-
Knight's ChallengeDeals 25% more damage to the first enemy hit.
-
Thirst for GloryIncreases movement speed by 10%.
-
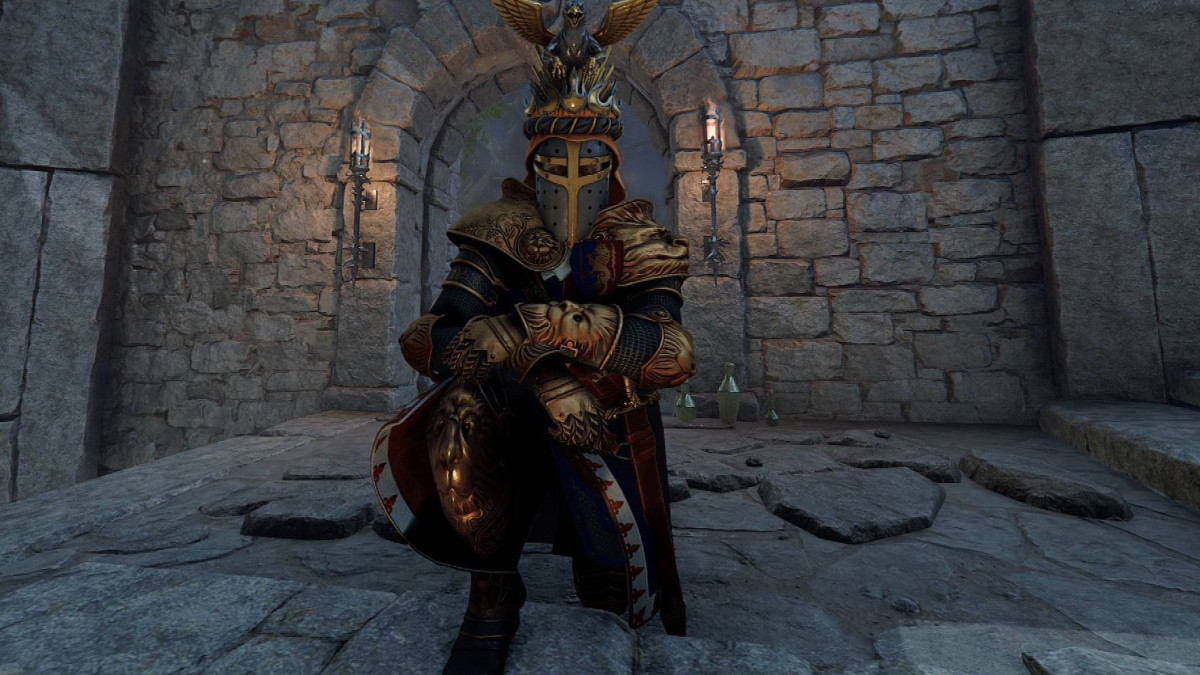
Bastion of BretonniaMarkus can use shields to block Warpfire Thrower attacks.


This build is designed to be defensively solid while also retaining good offensive options. It is extremely versatile and can be used for almost anything with minimal adjustments. It is more than capable of handling the vast majority of clutch/solo situations the game can throw at you, but this takes a lot of practice as it would with any class. Stamina management, good dodging and knowledge of enemy attack patterns are all important. Main weakness is boss damage, but this largely depends on how comfortable you are with avoiding the attacks of the boss in question.
Works good in any game mode, although can be a bit stunted in Chaos Wastes depending on RNG and which shrines you pick.
Change curse resist to move speed for cataclysm or anything else where Grimoires won't be taken.
Dealing with specials (particularly disablers) also takes some practice due to our lack of a ranged weapon, and I recommend doing a bit of true solo w/ spawn tweaks & creature spawner to get good at dodging them if you haven't already.
- Hook rats you should be able to 1 hit kill with bret longsword heavy attack. If in doubt dodge to either side of him just as he starts the hook animation (dodging around him in a diagonal direction works best imo)
- Leeches can be killed with a heavy attack followed up with a light attack, same thing with Blightstormers. If you can't get to him in time then dodge when you see/hear him casting the leech spell.
- Assassins you can dodge to either side as soon as he starts pouncing. They do not adjust direction midflight. When you get very familiar with the timings you can simply cut them out of the air mid-jump with a bret longsword heavy attack.
Bretonnian Longsword:
- For hordes, use the first two light attacks (horizontal), make sure to dodge and push when needed to avoid enemy hits
- For everything else use heavy attacks. You can do the first heavy attack and then a push-attack to get two overheads in quick succession.
- Good movetech for low pressure situations - simply chain heavy attacks and you will move faster with this weapon.
Sword and Shield:
- Use this weapon for survival in bad situations, escape, stagger, THP regeneration, etc. Can block warpfire and can stagger them with a bash
- Can stagger everything up to Chaos Warriors, including Plague Monks & all specials. You can use this to act as frontline when there are a lot of elite enemies threatening to overwhelm your party. Note that CW cannot be staggered out of their overhead strike - you need to avoid these.
- Preferred combo for stagger is push, heavy attack, repeat. Use this in high density groups of enemies to quickly regenerate THP as needed.
- Good movetech for high pressure solo/clutch situations - spam heavy attack and push while running. Great for escaping and getting a bit of distance. Careful of your stamina though.
Blessed Blade (ultimate):
- We have the version that gives horizontal slash for elite slaying. Can take out several Stormvermin or Maulers in one swing. Especially good for dealing with shielded enemies quickly so you don't get bogged down by them.
- Careful when using it on Chaos Warriors. It tends to cleave up to the first CW, kill it, but will not hit or stagger any further enemies past the CW, which can result in you taking hits from other enemies if you are not careful. To avoid this from happening I recommend either staggering with Sword & Shield just before using ulti, or dodging backwards immediately after using Blessed Blade.